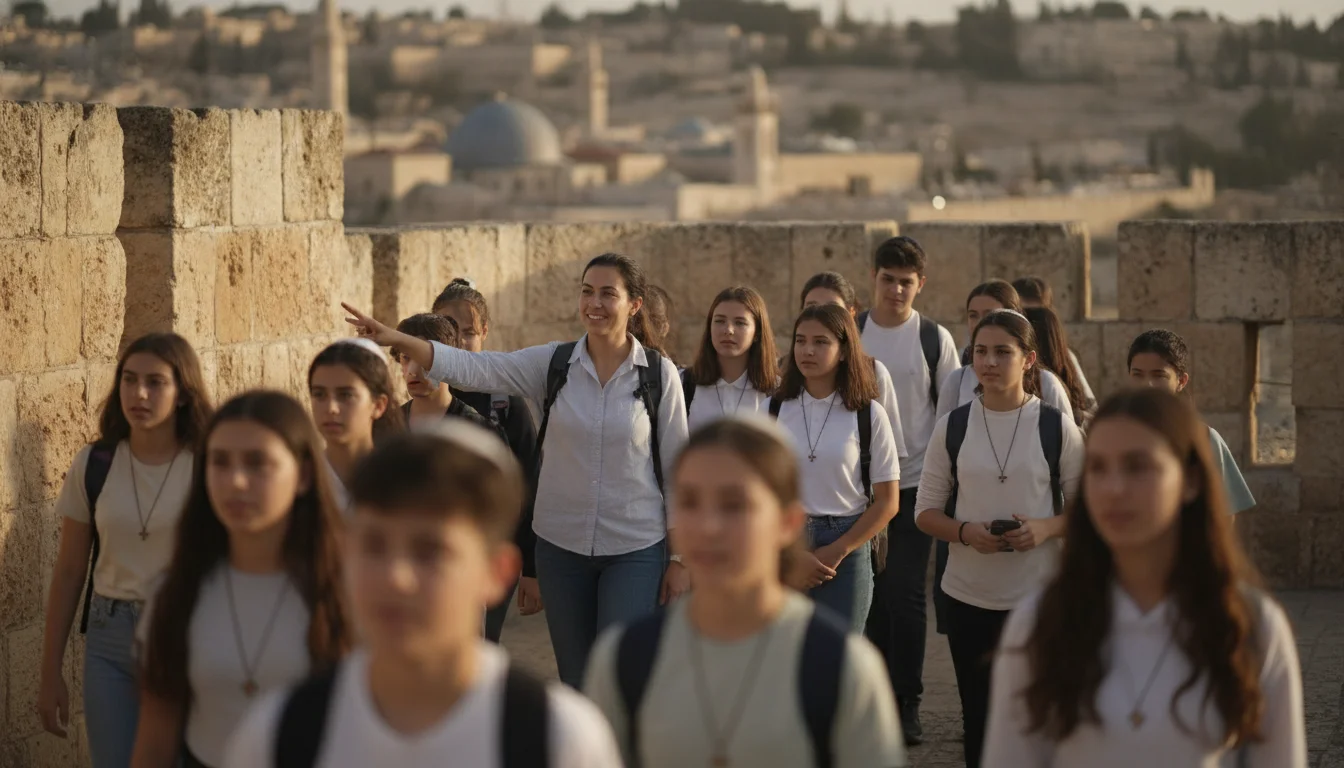
When a youth pastor or a rabbi calls me about taking students to Israel, the first thing I hear is usually a worry, not a plan. Something like “I have twelve kids who want to go, three sets of nervous parents, and no idea where to start.” That is a good place to start, actually. It means you are taking the trip seriously as the person responsible for it, which is exactly the posture a youth group trip to Israel needs from its leader.
I have built heritage journeys for more than forty years, and student trips are their own kind of trip. Teenagers are not miniature adults. They get bored differently, they connect differently, and their parents are watching everything. This guide is for you, the organizer: the person who recruits the group, sets the budget, keeps the students safe, and stands at the front reading Scripture at the Jordan or leading a moment of silence at Yad Vashem. Let me walk you through the decisions in the order you will face them.
How to Plan a Youth Ministry Heritage Trip From Zero
The mistake I see most often is leaders trying to design the itinerary first. That is the fun part, so it pulls at you. But the itinerary is not your first decision. Your first three are size, dates, and who is coming.
Start with a rough headcount, because it drives everything else, including your own cost. On our group trips the leader travels free once you reach fifteen paying travelers, so the difference between fourteen students and fifteen is not one seat. It is your seat. That single line changes how a lot of youth leaders think about recruiting, and I will come back to it, because for a youth trip the “paying travelers” often include a handful of parent chaperones, which makes fifteen easier to reach than it sounds.
Then set a real date range before you promise anything to anyone. School calendars, exam weeks, and family summer plans decide this more than you do. Most youth groups I work with travel in June, over a long spring break, or right after the school year ends. If your congregation follows the Jewish calendar, you are planning around the holidays too, so give yourself room.
Only then do you sketch the trip itself. For a full walk through the planning sequence from budget to booking, our group pilgrimage planning guide is the pillar I point every new leader to first. It is written for exactly this moment, when you have interest but not yet a plan.
Building a Student Group Tour to the Holy Land That Actually Fits Teenagers
A student group tour to the Holy Land is not an adult tour with a younger crowd bolted on. Hand a group of sixteen-year-olds the same slow, lecture-heavy day you would give a group of retirees and you will lose them by the second site. The country is the same. The pacing is not.
Here is what I have learned works for students:
- Fewer sites, more time at each one. Three meaningful stops a teenager remembers beat seven they blur together.
- Physical, hands-on moments. Wading into the water at the Jordan, floating in the Dead Sea, climbing Masada at dawn, walking Hezekiah’s Tunnel with the water at their knees. Students remember what their bodies did, not what they were told.
- Built-in downtime. An hour in the Old City markets with a small budget and a buddy system does more for group morale than another guided hall.
- Connection to what they already know. If your youth group has been studying a Gospel or a specific slice of history, anchor the trip to it. Standing where a story they know actually happened is the entire point.
You can see how the pieces fit on our Israel heritage page, which lays out the regions a student itinerary usually moves through, from the Galilee down to Jerusalem.
How to Run a Student Pilgrimage Safely
This is the section parents care about most, so it is the section you need to have answers ready for. Safety for a youth trip is not one conversation. It is a system, and as the organizer you own it.
Start with supervision ratios. For students, I recommend one adult chaperone for every six to eight travelers, and never fewer than two adults total so no one is ever alone with a student. Recruit those chaperones early and treat them as part of the leadership. A good rule: at least one chaperone of each gender, and at least one trained in basic first aid.
Next, medical and consent paperwork. Before anyone pays a deposit, you want a signed medical form, allergies and medications, emergency contacts, and a signed permission and liability release for every minor. Keep copies with you, with a chaperone, and with your operator. Do not improvise this the week before departure.
Then insurance, which is not optional for a student group. Every traveler needs coverage that includes medical care abroad and emergency evacuation, and for minors you want the policy details on file with the parents’ signatures. I walk leaders through what a group policy should cover in our note on travel insurance for a church group, and the same logic applies to youth ministry and synagogue groups.
Finally, the ground layer. Work with an operator who runs student groups regularly, uses vetted guides and drivers, monitors regional conditions daily, and can adjust a route on short notice without drama. When you evaluate operators, ask them directly how they handle a medical issue, a lost passport, and a schedule change with minors involved. The quality of those answers tells you more than any brochure.
The Confirmation Class Trip to the Holy Land
A confirmation class trip is a specific and beautiful version of this, and it deserves its own note. When a class travels to Israel as part of their confirmation or as a capstone after it, the trip stops being a vacation and becomes part of their formation. That framing changes what you plan for.
Build in reflection, not just sightseeing. Give students a place in each day to write, to talk in small groups, to ask the questions the sites raise in them. Standing at the Western Wall, walking the Via Dolorosa, sitting on the steps of the Temple Mount’s southern side where teachers taught, these are not photo stops for a confirmation group. They are the curriculum. Tie the itinerary to what the class studied so the trip closes a loop rather than opening a random one.
Keep the class together as a cohort. Part of what makes a confirmation trip work is that these students already share a story. Travel them as a unit, seat them together, let them process together. The bonds that form on the trip often outlast the confirmation itself.
How to Plan a First Pilgrimage for a Youth Group
If this is your first time leading students abroad, the honest truth is that the logistics are more forgiving than your nerves suggest, as long as you do not carry them alone. A first pilgrimage for a youth group succeeds or fails on preparation, not on charisma.
A few things I tell every first-time youth leader:
You do not need to become a travel agent. Your job is to lead your students and shepherd their parents through the decision. The routing, the hotels, the guides, the border logistics: hand those to an operator who does this for a living so your attention stays on your people. Choosing that partner well matters, so it is worth reading how to choose a faith tour operator before you commit.
Hold a parents’ meeting early, before you take deposits. Walk parents through the itinerary, the safety system, the chaperone ratios, the insurance, and the money. Parents who understand the plan become your recruiters. Parents left guessing become your friction. Answer the safety question before they have to ask it.
Give yourself a real runway. First trips need more lead time, not less, because you are learning the process while you build the group. Six to nine months is a workable minimum. Our guide on how far ahead to plan breaks the timeline down month by month.
How to Keep Students Engaged on a Heritage Tour
An engaged teenager is a teenager who has something to do, someone to do it with, and a reason it matters. Boredom on a heritage tour is almost always a design problem, not a student problem. Here is how I keep engagement high across a full week.
Give students roles. Rotate a “site historian” who shares one fact each morning, a “photographer of the day,” a “navigator” who helps the guide keep time. Ownership beats spectating.
Use the buddy system for more than safety. Pair students so no one drifts to the edge of the group feeling invisible. Loneliness, not the itinerary, is what usually pulls a teenager out of the experience.
Break the guided rhythm on purpose. After a dense morning, drop them into a market with a small spending budget and a scavenger list, or give them free time at the Dead Sea. The contrast is what makes the guided parts land.
Create nightly touchpoints. A short debrief each evening, phones down, where students name one thing that struck them, turns a string of sites into a shared story. This is where the trip becomes theirs.
The Money: Budget, Payments, and How Your Own Seat Gets Covered
Cost is where a lot of youth trips stall, so let me be concrete. A student group trip has three moving parts you control: the per-student price, how families pay it, and how you fund the seats that are not students, meaning chaperones and yourself.
Your per-student price depends on length, season, and hotel level, and a good operator gives you a clear per-person quote once your group size and dates are set. Do not build your budget on a guess. I break down what drives the number in our note on how to budget a church trip, and the same categories apply to a youth group.
Payment plans are what make a student trip reachable for families. Almost no family writes one check. A deposit to hold the seat, then monthly installments across the runway, turns an impossible number into a manageable one. We walk through structuring this in our guide on group trip payment plans, and I also point youth leaders to fundraising for a trip, because car washes, sponsorships, and congregation support can carry a real share of the load.
Now your seat. On our group trips the leader travels free once the group reaches fifteen paying travelers. For a youth trip, those paying travelers usually include parent chaperones, which is why the fifteen threshold is often easier for a youth group to hit than for an adult group. Ten students plus five paying parents reaches it. If you want the exact mechanics, we cover how many people it takes for the leader to travel free and whether the leader travels free in their own notes. Your job is to build the group, and the model is built so your seat is the one it covers.
FAQ: Leading a Youth Group Trip to Israel
What is the right age for a youth group trip to Israel?
Most youth trips I run are middle and high school students, roughly ages twelve to eighteen, traveling with adult chaperones. Younger students can travel too, but they need more chaperones and a gentler pace. The key is matching the pacing and the reflection to the age, not the destination to the age.
How many chaperones do I need for a student group?
Plan for one adult for every six to eight students, and never fewer than two adults total. Include at least one chaperone of each gender and at least one with basic first aid training. Recruit them early and treat them as part of the leadership team, not last-minute volunteers.
Do parent chaperones count toward the fifteen travelers that make the leader free?
Yes. Paying parent chaperones count as paying travelers, which is why youth groups often reach the fifteen threshold more easily than adult groups. A group of ten students and five paying parents already gets you there, and at that point your own seat is covered.
How far ahead should we start planning a first student trip?
Six to nine months is a workable minimum, and more is better for a first trip. You are recruiting the group, collecting paperwork, running a parents’ meeting, and setting up a payment plan all at once, so give yourself runway. Concrete dates and a real itinerary are what move families from interested to committed.
Is it safe to bring teenagers to Israel right now?
Safety is a system, not a single answer, and it starts with an operator who monitors conditions daily and can adjust a route without drama. On your side it means chaperone ratios, medical and consent paperwork, and insurance that covers medical care and emergency evacuation for every minor. Ask any operator directly how they handle a medical issue, a lost passport, and a schedule change with students involved, and judge them by the specifics of the answer.
If you are weighing a youth group trip to Israel for your congregation, the next step is a real conversation about your group size, your dates, and your students. You can see how the group experience works on our group heritage tours page, and for the fuller planning picture, start with our group pilgrimage planning guide.
Contact us and we will help you build a trip that fits your students, your calendar, and your budget.